How to Measure for Roller Shades: A Step-by-Step Guide
Measuring for roller shades might seem tricky at first, but with the right approach, it becomes a straightforward task. Accurate measurements are essential to ensure a perfect fit, whether you're opting for an inside mount or an outside mount. This ensures that the shades work effectively, providing the desired amount of light control and privacy for your space.
Roller shades come in various styles and installation types, each requiring specific measuring techniques. Understanding the fundamental differences between these types can make the process less daunting. By taking the time to measure correctly, you avoid potential installation issues and gain the satisfaction of having shades that fit perfectly and operate smoothly.
Before picking up that tape measure, familiarizing yourself with the tools and preparations needed is key. This preparation paves the way for error-free measurement, allowing you to achieve the look and function you desire. Follow the right steps, and your roller shades will complement your home's style while meeting your practical needs.
Understanding the Basics of Measuring for Roller Shades
Accurate measurements are crucial when it comes to installing roller shades. Properly measured roller shades ensure a snug fit that enhances the functionality and aesthetics of your windows. If the measurements are off, it can lead to gaps that let in unwanted light or result in the shades being too tight, causing operational issues. Precision at this stage makes the installation process smoother and prevents the need for costly adjustments or replacements.
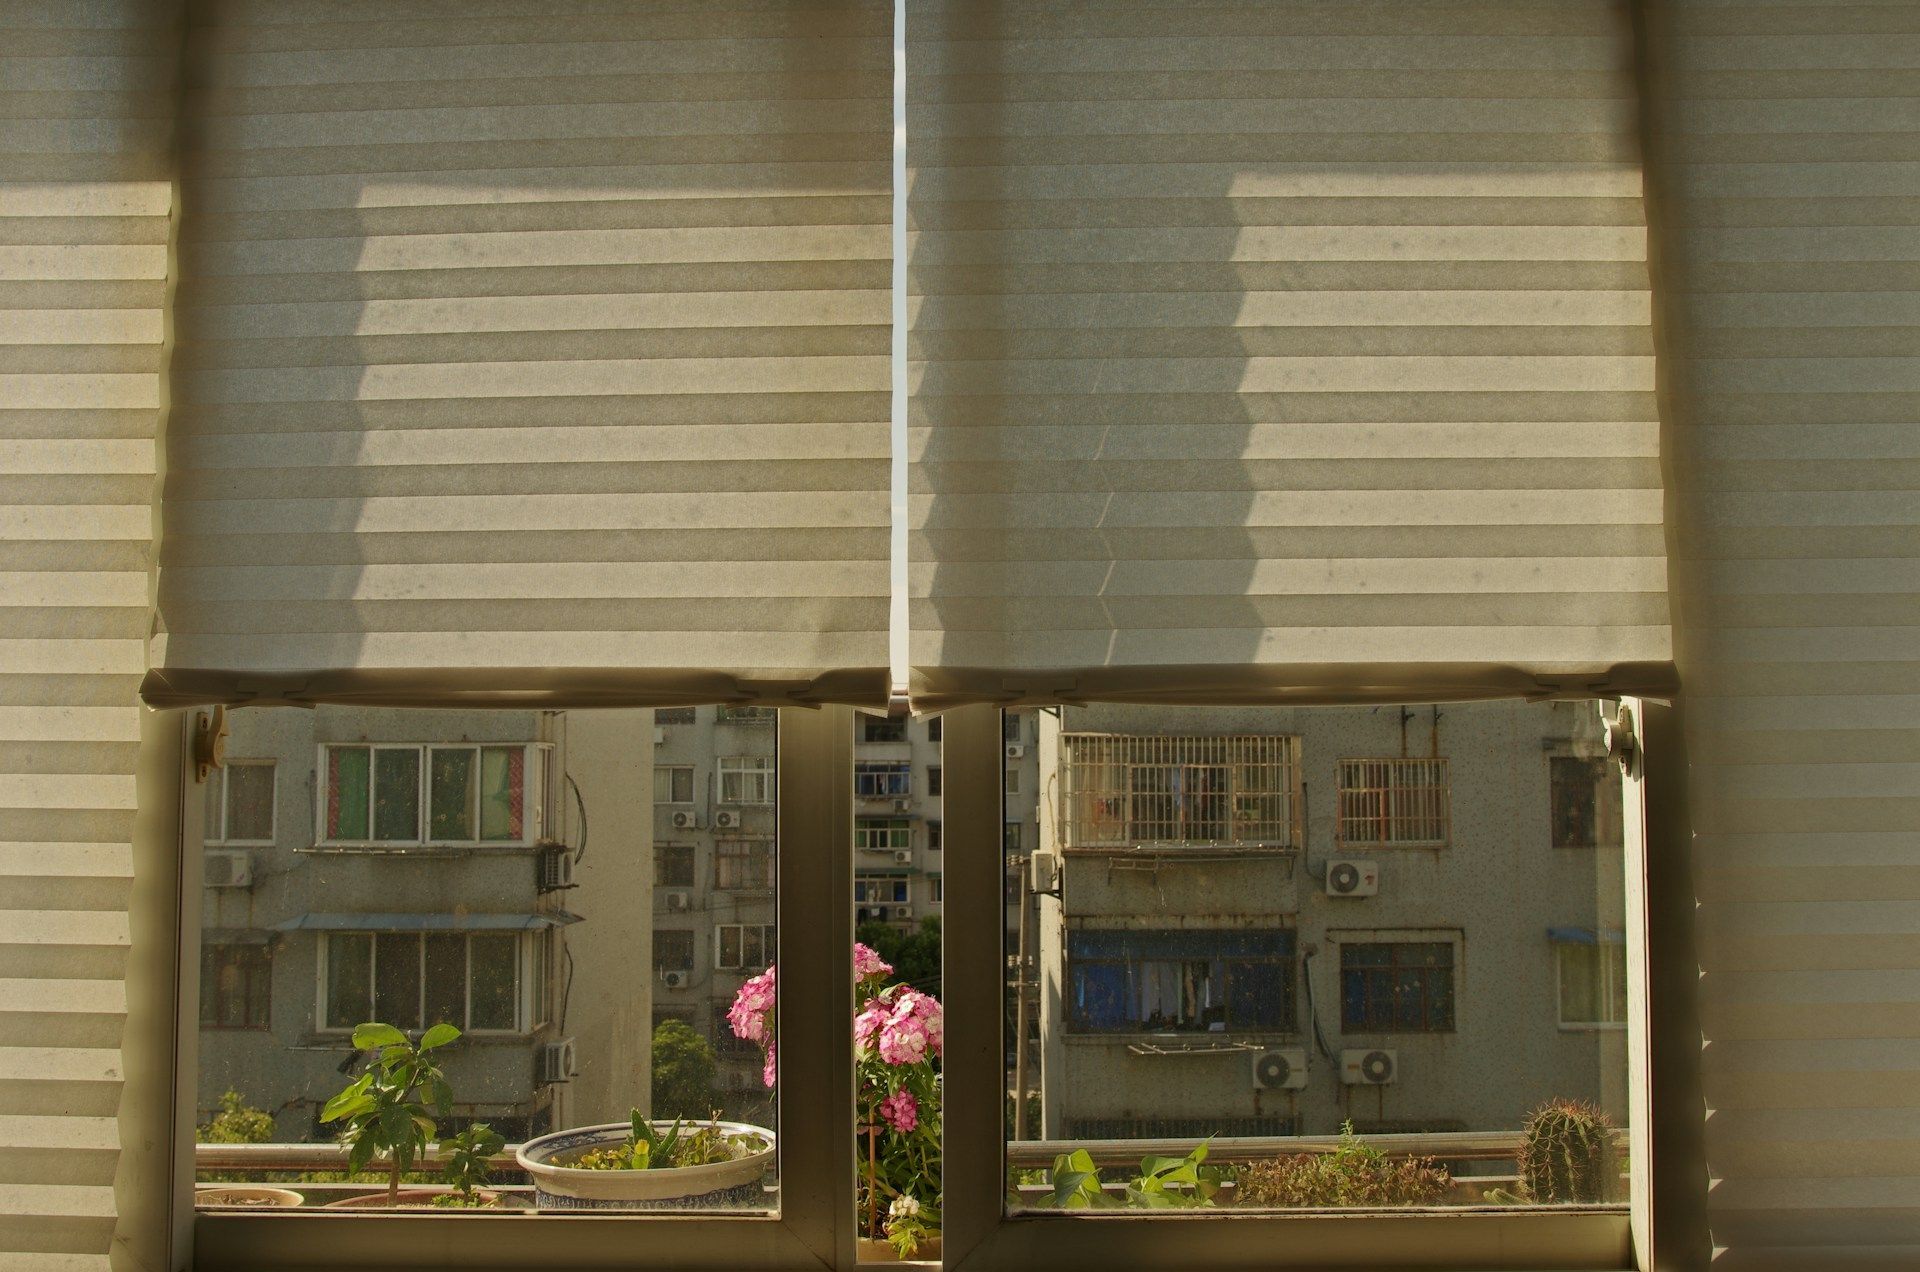
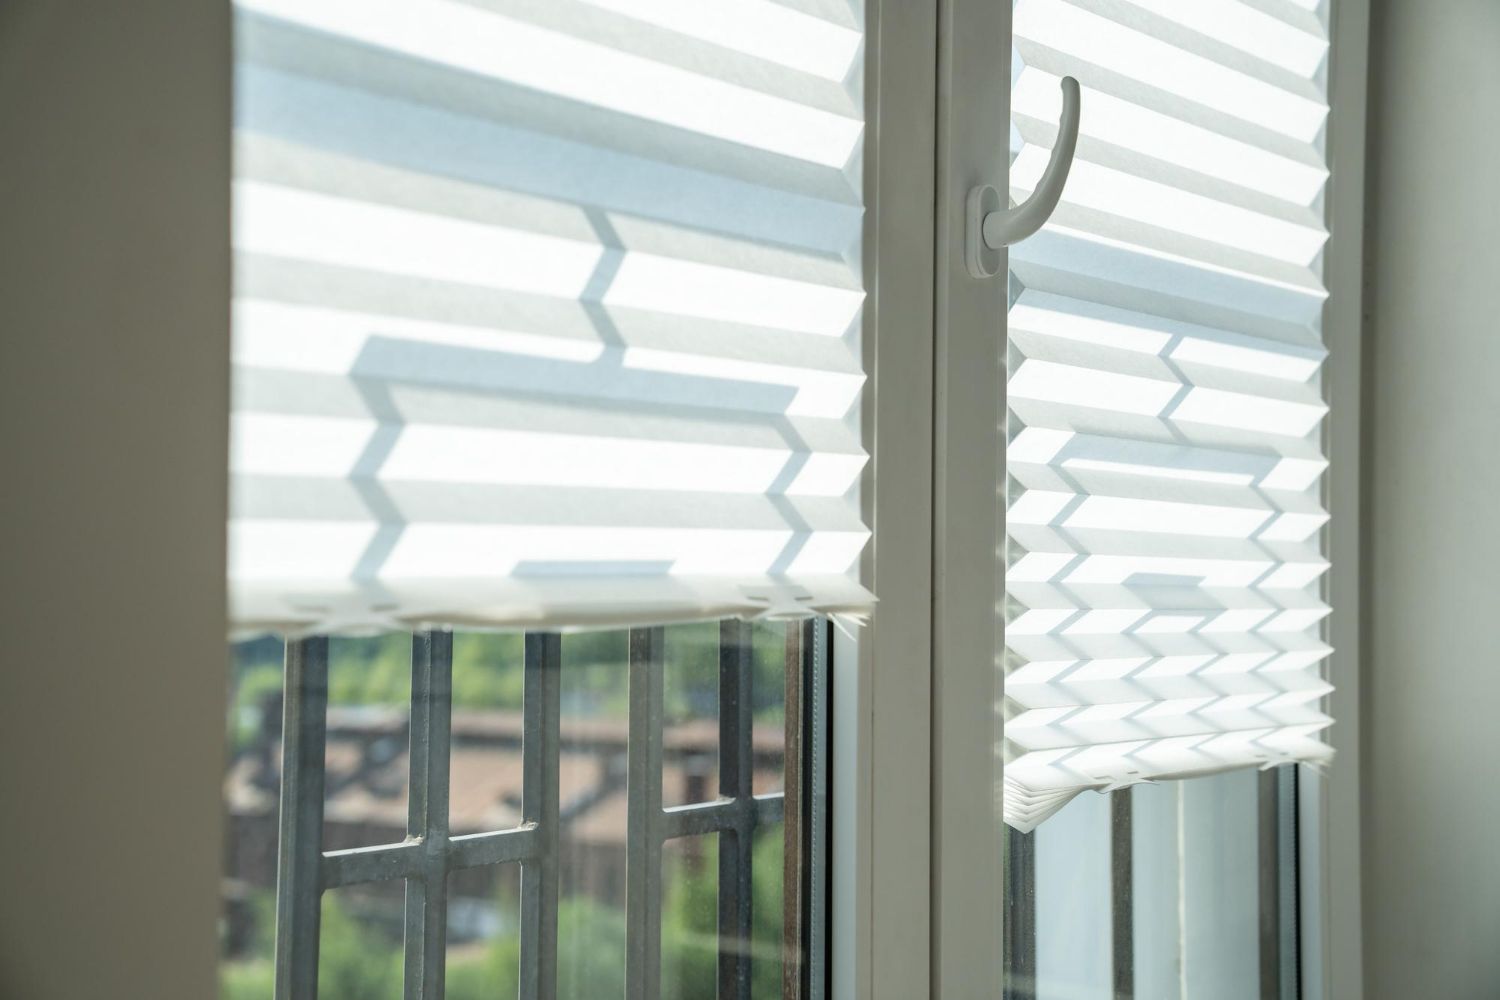
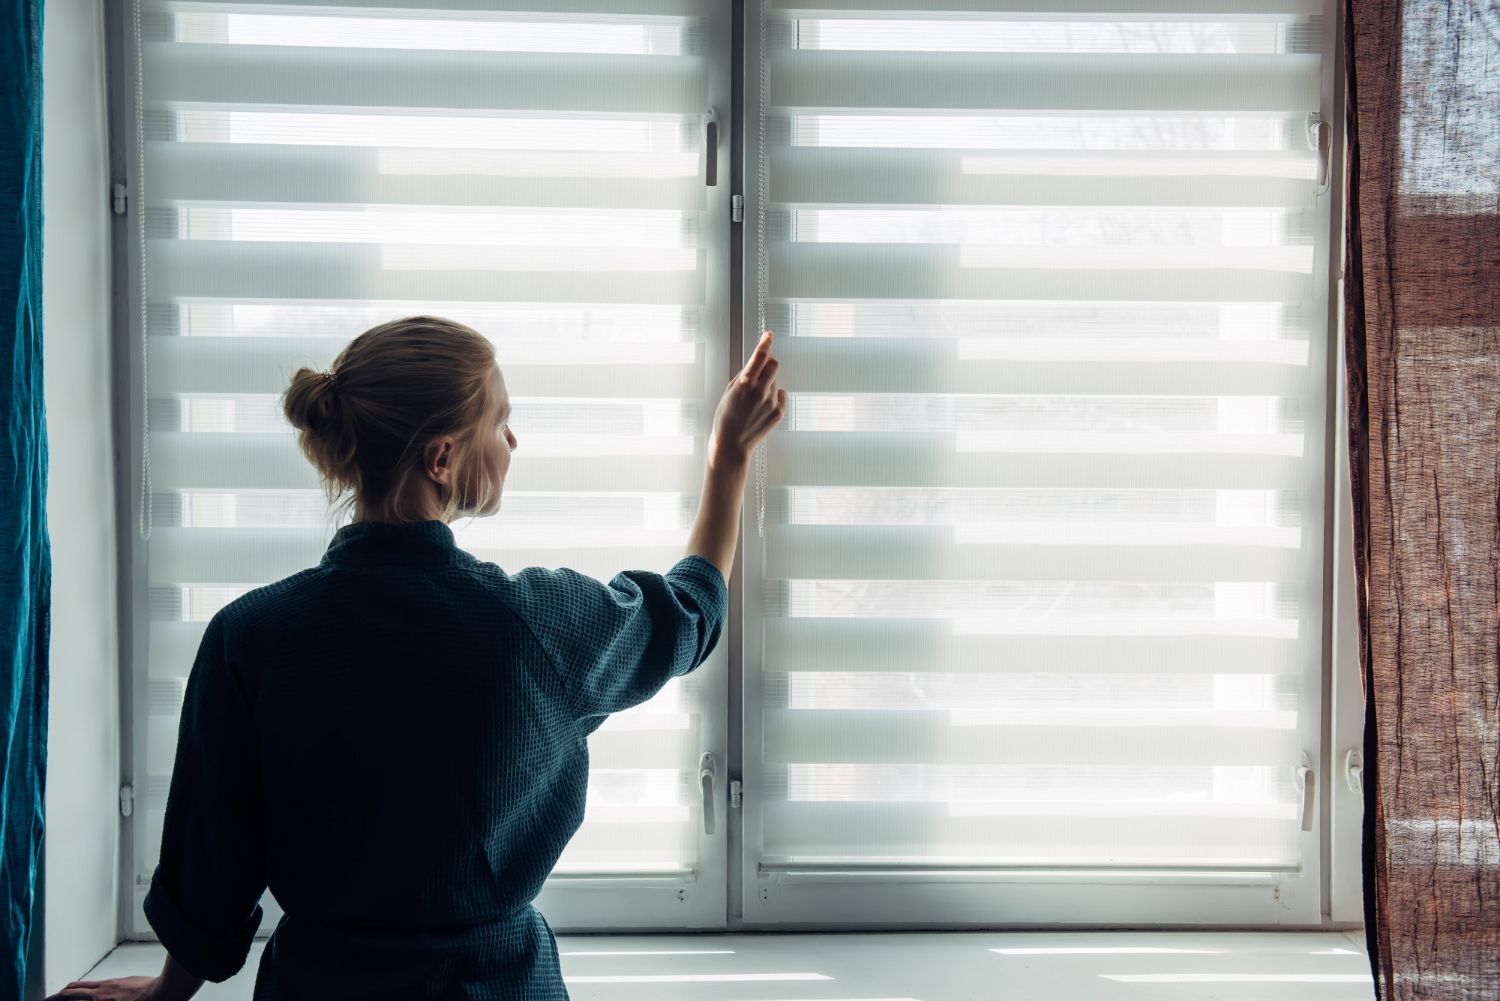
Roller shades come in different types, such as light-filtering, blackout, or solar, and each has unique measuring needs. Inside mount roller shades are fitted within the window frame, offering a clean and streamlined look. This type requires precise deduction from the actual window measurement for the shades to fit inside perfectly.
Outside mount roller shades, on the other hand, are installed on the wall or window molding, providing better light control and privacy. They require adding extra width and length to fully cover the window and any potential light gaps. Understanding the differences helps in deciding which mounting option suits your space and needs best.
Tools and Preparation for Measuring
Gathering the right tools and preparing your space before you start measuring is essential. Accurate tools lead to precise measurements, which are critical for a perfect fit.
Tools Needed:
- A steel tape measure (preferably one that measures in inches)
- A notepad or smartphone for recording measurements
- A level (optional, but helpful for ensuring straight measurements)
- A step stool or ladder for higher windows
Preparation Tips:
1. Clear the Area: Make sure the window area is clear of any obstructions like furniture, drapes, or decorations. This provides a better view and access for measuring.
2. Double-Check the Surface: Ensure that the area around your window is even and that the frame is intact. An uneven or damaged surface can affect your measurements and how the shades fit.
3. Ensure Proper Lighting: Good lighting helps in reading the measurements on the tape measure accurately. If natural light is insufficient, use a flashlight or lamp.
4. Record as You Go: Write down each measurement as soon as it is taken. Double-check each figure to avoid errors and confusion later.
With the correct tools and well-prepared space, the measuring process for your roller shades will be straightforward, setting a solid foundation for a seamless fit and installation.
Step-by-Step Guide to Measuring Your Windows
When it comes to measuring for roller shades, it’s crucial to follow the right steps for an accurate fit. Here’s a simple guide for inside and outside mounts:
Inside Mount Roller Shades:
1. Width Measurement: Measure the width at the top, middle, and bottom of the window opening. Use the smallest of these measurements to ensure the shade fits within the frame without scraping the sides.
2. Height Measurement: Measure the height from the top to the bottom on both the left and right sides as well as in the center. Record the longest measurement to ensure the shade covers the entire height of the opening.
3. Depth Check: Check the depth of your window frame to ensure it’s sufficient to accommodate the shade mechanism. Most roller shades need at least a 1 ½ inch depth.
Outside Mount Roller Shades:
1. Width Measurement: Measure the desired width across the window. Add 2–3 inches on each side to account for total coverage and minimize light leakage.
2. Height Measurement: Measure from the top where you want the shade to start, usually above the window frame, down to the point where you want it to finish. Add extra length for the mounting hardware and to ensure full coverage.
3. Clearance Check: Ensure there’s enough flat space around the window to mount the brackets and that the shades won’t obstruct any other elements like handles or latches.
These steps help ensure your roller shades fit snugly, providing effective light control and a polished look.
Common Mistakes to Avoid When Measuring
Avoiding common mistakes in measuring helps you achieve a perfect fit for your roller shades. Here are some pitfalls to watch out for, along with handy tips to overcome them:
1. Using the Wrong Tape Measure: Always use a steel tape measure for accuracy. Fabric tape measures can stretch and provide inaccurate results.
2. Not Measuring at Multiple Points: Some windows aren’t perfectly square. Measure the width and height in three places to find the smallest and largest points.
3. Ignoring Window Obstacles: Be mindful of window components like handles, locks, or trim that might obstruct the shade. Plan the mounts to ensure nothing gets in the way.
4. Misrecording Measurements: double-check figures as you write them down. Transposing numbers can lead to ordering an incorrect size.
5. Assuming All Windows Are the Same: Measure each window individually, even if they look identical. Small differences can affect the fit.
Overcoming these common issues ensures your roller shades are perfect when installed, preventing hassles and saving time.
Conclusion
Measuring for roller shades might seem like a small step, but it plays a huge role in how well your new shades work and look. By taking the time to measure accurately, considering the type of mount, and preparing ahead of time, you guarantee smooth installation and satisfaction with the final product.
The journey from measuring to installing roller shades involves understanding your windows, selecting the right shade, and ensuring everything fits snugly. Following these guidelines means fewer headaches during installation and a finished product that enhances your living space. Taking these steps seriously can transform a tedious task into a rewarding experience, leaving you with beautiful, functional shades.
For a seamless experience from start to finish, trust Custom Shutters of Wilmington. Our expertise ensures that your
roller shades are measured and installed to perfection, transforming your windows into stylish focal points. Whether you're looking for advice or ready to start your project, contact us today to explore our wide selection of shades that meet your needs and bring out the best in your home.


Discover the best in quality and design with Custom Shutters of Wilmington. Offering a diverse range of plantation shutters, shades, and blinds in Wilmington, NC.
Quick Links
Website Designed & Managed by Real SEO Proof